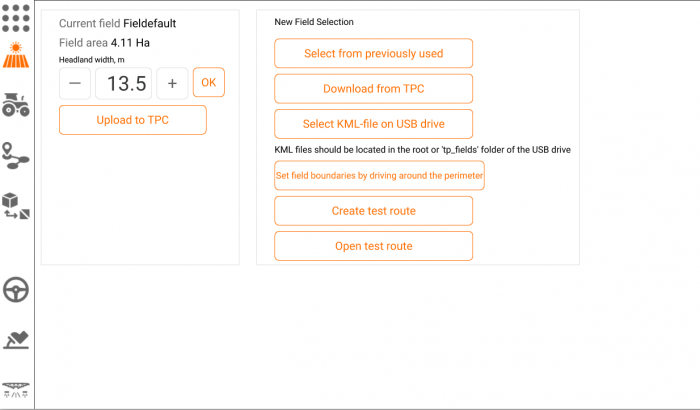
To open new field click "Field" icon at the left sidebar. There are several ways of importing new fields to the application. The first way is to select the field from the list of previously imported fields.
If you start the application for the first time and don't have any previously used fields yet, you can import new field from Tractor Pilot Connect online system or from USB flash drive.
You can also create field boundaries for the application by driving around the perimeter.
Downloading fields from Tractor Pilot Connect
1. Sign up TPC -http://tractorpilot.com:1234/signup
2. Click "Actions"-Add New Field and select your field borders with mouse on the map. After you match the first and last point of the field borders the procedure is regarded completed and you'll be prompted for new Field name

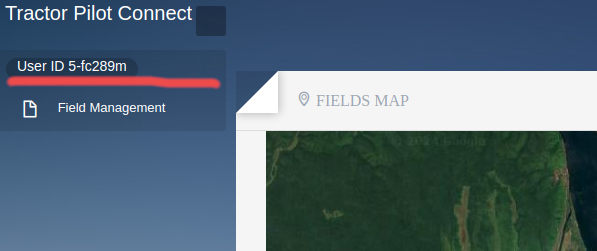
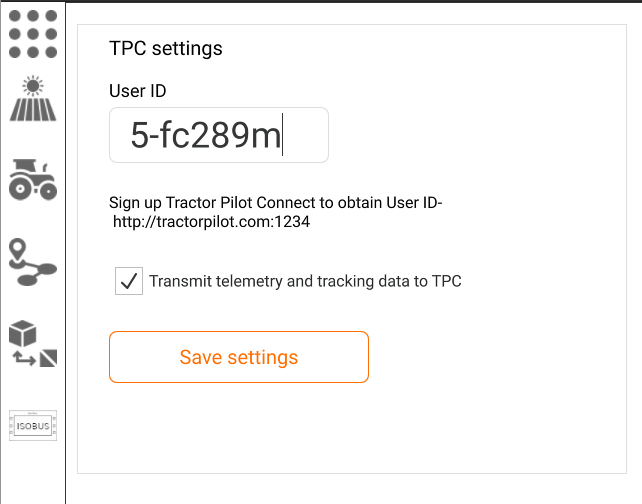
3. Add your TPC User ID to the Tractor Pilot app

Click TPC button at the top menu of the application and select "TPC Settings" option. Fill in User ID field with actual TPC User ID value and click "Save settings" button

4. Return to the Field Selection section of the app and click "Download from TPC" button - you'll see the field list from your TPC account. Select the required field.
Importing fields from USB flash drive
Copy your map files in .KML or ISO-XML format to the "tp_fields" folder or the root directory of the USB flash drive.
Сonnect the flash drive to the USB port. The flash drive will be automatically mounted and you'll see the respectful notification.

Click "Ok" button, return to the "Field Selection" section of the app and click "Select map file on the USB drive" button - you'll see the field list from map files discovered on the flash drive. Select the required field. New field will be loaded just after selection and you'll see new field borders on the 3D world.
Create field boundaries by driving around the field perimeter

Return to the Field Selection section of the app and click "Set field boundaries by driving around the perimeter" button.
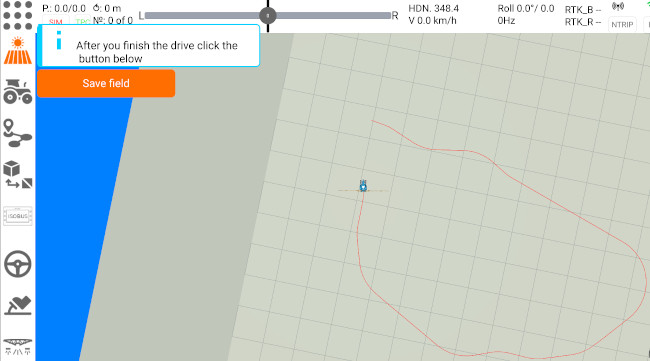
Start driving around the perimeter.
When you finish your drive click "Save Field" button and enter the new field name.
